News

How To Deal With Tendinitis And Carpal Tunnel Syndrome

By Bruce Becker

Source: https://www.drumeo.com/beat/how-to-deal-with-tendinitis-and-carpal-tunnel-syndrome/

Have you ever experienced burning, pins-and-needles sensations or sharp pain, during or after playing the drums? These sensations can be early symptoms of a playing-related musculoskeletal disorder (PRMD). In a previous article, Dr. Azar reported that the two most common medical diagnoses for drumming PRMDs are tendinitis and carpal tunnel syndrome – words that strike fear into the hearts of many drummers.

It’s important to note that these conditions don’t have to be catastrophic – they can be treated! The key is early intervention. The sooner you take steps to deal with the problem (which means consulting medical professionals, following their advice, and making changes that will prevent it from happening again), the better your chances are of successfully recovering from the injury.

Before you can intervene, you have to be able to recognize when you are starting to develop a PRMD. Here is a brief description of the two most common drumming-related injuries:

Tendinitis
If your symptoms include swelling, increased heat, and sharp, painful movements (acute tendinitis)1, or dull, achy, uncomfortable sensations (chronic tendinitis), this might be your problem.

‘Tendinitis’ refers to an inflammation of a tendon, which is the connective tissue that attaches muscle to bone. It can happen in any tendon in the body, but commonly occurs in the shoulder (e.g., bicep tendinitis), on the inner or outer sides of the elbow (e.g., epicondylitis)1, and in the tendons of the wrist and the thumb.

This condition can be caused by repetitive motion, poor body mechanics and posture, and lack of strength in the muscles attached to these tendons.

Carpal Tunnel Syndrome
Typical symptoms of carpal tunnel syndrome include an intense burning and/or numbness/tingling sensation on the palmar side of the hand – particularly in the thumb and the index and middle fingers – and weakness of the hand.2

Carpal tunnel syndrome happens when the median nerve is compressed as it passes through the very small space created by the bones of the wrist and the transverse carpal ligament.2 The median nerve shares this space with the tendons of the wrist, finger, and thumb flexor muscles (9 in total).3

Repetitive squeezing, gripping, and wrist bending tightens the transverse carpal ligament, which narrows the carpal tunnel and compresses the median nerve. This interferes with the sensory signals being sent to the hand and the motor signals being sent to the thumb.2

Injury and Pain Management
If you are experiencing one of these injuries, please see a medical professional to confirm a diagnosis, and then consult a rehabilitation specialist (e.g., physiotherapist, athletic therapist – ask for a referral, if necessary) to develop a treatment plan that will be tailored to your specific issue.

Athletic therapist Dylan Durward frequently uses the exercises and thermal treatments described below in the rehabilitation programs he develops for clients who have been diagnosed with these injuries. But they are by no means a substitute for seeing your own medical team.

Before you play:
Apply a heat pack to the problem area(s) for 10-15 minutes to increase circulation, relax tight muscles, and reduce joint/muscle stiffness. Wrap a towel around the heat pack to reduce the chances of burning your skin. Do NOT apply heat to an area that feels hot or is already inflamed.
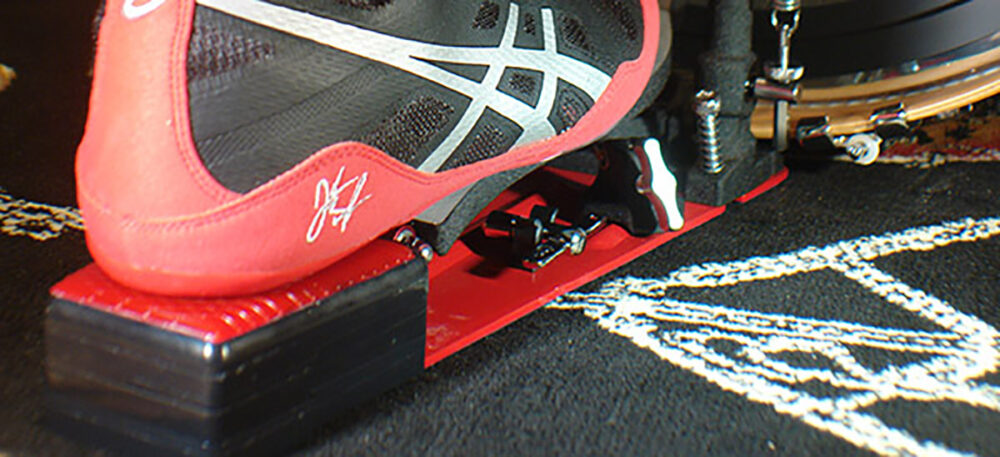
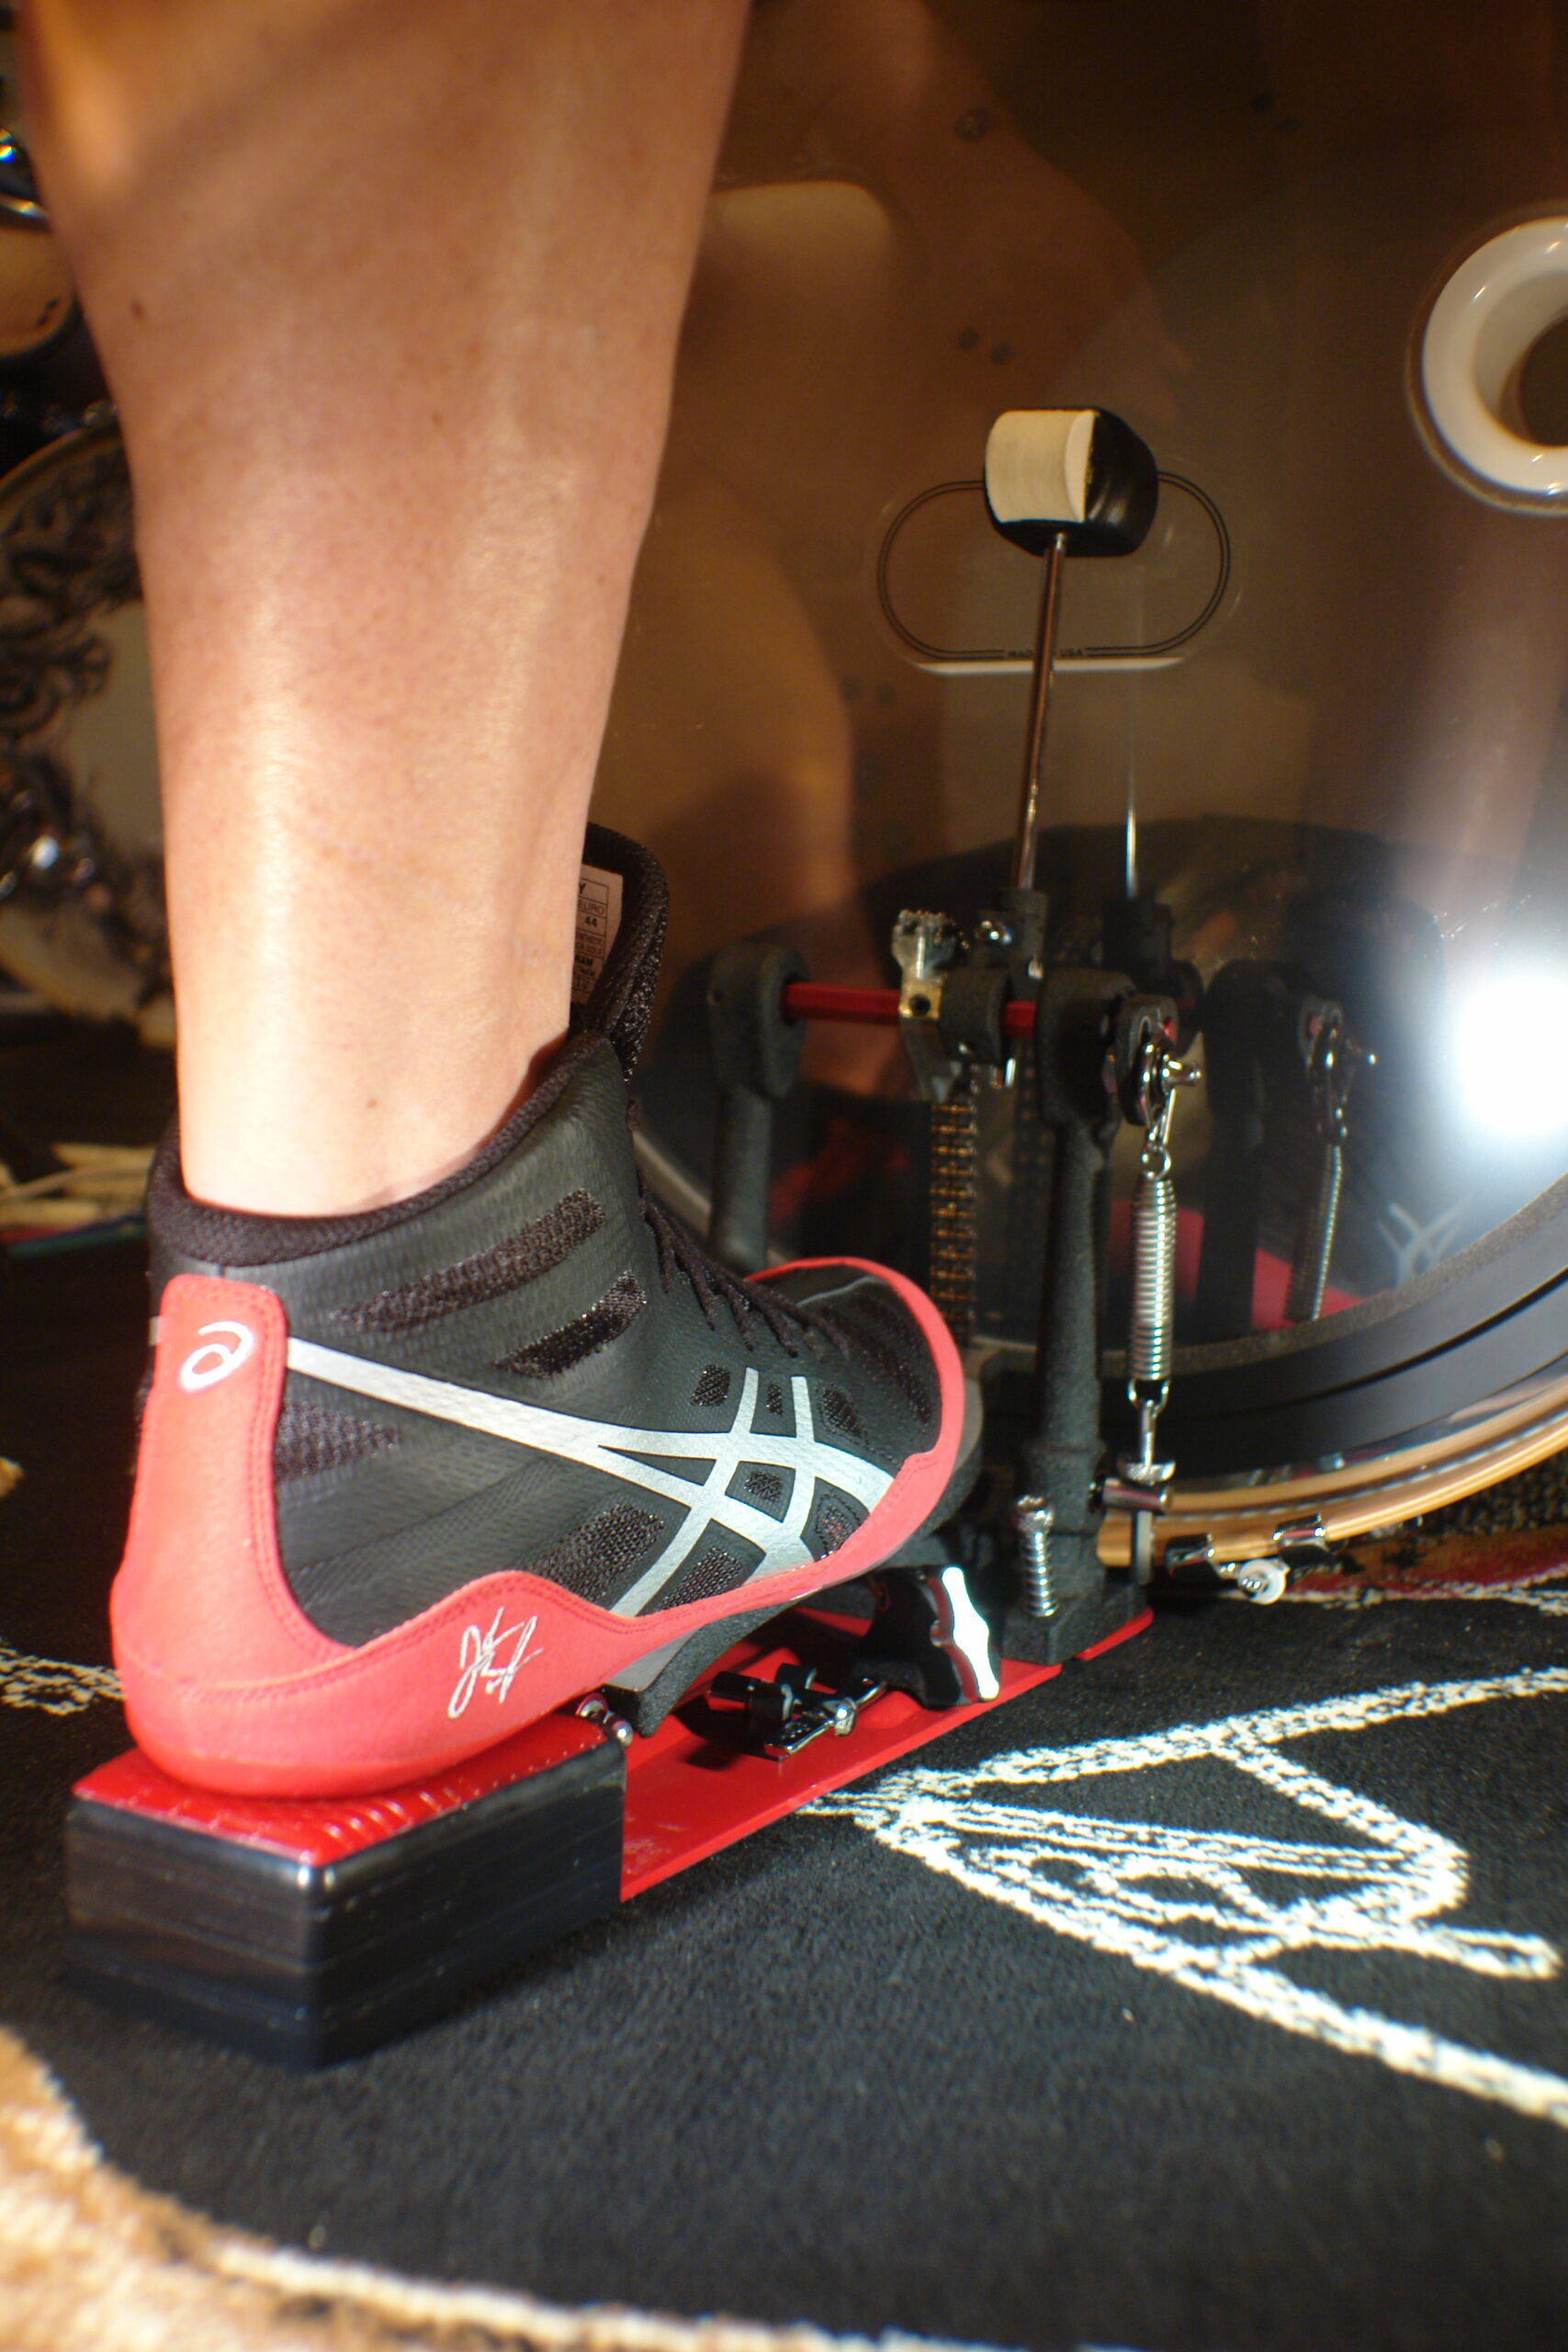
Warm up for at least five minutes to increase circulation and blood flow before you start playing. By ‘warm up’, we mean a physical warm-up off the drum kit that consists of gentle dynamic stretches of the entire upper limb from shoulder to fingers. Consider adding wrist circles, elbow pivots, and shoulder circles to your pre-show or pre-practice routine (do each movement 30 times in each direction). From here, you can progress to your typical on-the-kit warm-up.

Shoulder circles

While you’re playing:
Find ways to incorporate breaks into your playing. This might be tough to accomplish during a live performance, but the short pauses between songs or the parts of songs with no drums are perfect opportunities to take “micro-breaks”. Use that time to squeeze in some dynamic stretches, like those described above.
For long practice sessions, set a timer to remind yourself to take a short break every 20-30 minutes, and change up the elements you are working on (e.g., alternate between handwork, footwork, whole body playing, etc.). This will allow one muscle group to rest while the other is working.
After you finish playing:
Do a short cool-down (5-10 minutes). Walk around for a few minutes to bring down your heart rate, then do some gentle static stretching to help reduce joint stiffness and temporarily relieve tight muscles. Consider adding wrist flexion and extension, elbow pronation and supination, pectoralis minor releases, and cross-arm stretches to your post-show or post-practice routine. For best results, hold each position for 30 seconds and repeat each stretch 3-5 times.
Apply an ice pack to sore/painful areas of the body to help reduce inflammation and pain. Be sure to wrap the ice pack in a towel to protect the skin. Keep the ice pack in place for up to 15 minutes, until you feel sensations of cold, burning, aching, and numbness (CBAN). Take off the ice once the area feels numb, and wait at least 1 hour before re-applying ice (to reduce the chance of frostbite).

Cross-arm stretches

In between practices/performances:
Proper engagement of the shoulder blade retractors (i.e., the rhomboids, latissimus dorsi, and trapezius muscles) can help keep the upper limb in a more efficient position and create more space for the bicep tendons within the shoulder. Try doing this shoulder blade squeeze exercise several times throughout the day to increase muscle strength and promote good posture.
Have extra wine corks lying around? Place a cork on a hard, level surface, then place your hand palm-side down onto the cork and gently press down, alternating between the pinky and thumb sides at the base of the palm (near the wrist – see photos). This can help stretch the transverse carpal ligament to open up space for the nerves, arteries, and tendons that pass through the carpal tunnel.

Cork exercise for carpal tunnel syndrome

Top Takeaways:
Tendinitis and carpal tunnel syndrome are treatable.
Recognizing and combating the symptoms of these conditions in the early stages is vital for maintaining healthy upper limbs for a sustainable drumming career.
Management options for these injuries include thermal therapies, regularly doing adequate warm-ups and cool-downs off the kit, and doing stretches and strengthening exercises in between practices/performances.
See a medical professional to confirm a diagnosis, and then consult a rehabilitation specialist (e.g., physiotherapist, athletic therapist) to develop a treatment plan that will be tailored to your specific needs.
If you’re interested in reading Dr. Nadia Azar’s published research on the most common injuries for drummers, click here.

References
Tendinitis [document on the Internet]. Rochester (MN): Mayo Foundation for Medical Education and Research (MFMER); 2019 [cited 2019 July 26]. Available from https://www.mayoclinic.org/diseases-conditions/tendinitis/symptoms-causes/syc-20378243.
Carpal Tunnel Syndrome Fact Sheet [document on the Internet]. Bethesda (MD): Office of Communications and Public Liaison, National Institute of Neurological Disorders and Stroke, National Institutes of Health; 2019 [cited 2019 July 26]. Available from https://www.ninds.nih.gov/Disorders/Patient-Caregiver-Education/Fact-Sheets/Carpal-Tunnel-Syndrome-Fact-Sheet.
Tortora GJ. Principles of human anatomy (9th ed.). New York, NY: John Wiley & Sons, Inc., 2002. 918 p.
Blausen.com staff (2014). “Medical gallery of Blausen Medical 2014”. WikiJournal of Medicine 1 (2). DOI:10.15347/wjm/2014.010. ISSN 2002-4436. – Own work, CC BY 3.0. No changes were made to this image. Available from: https://commons.wikimedia.org/w/index.php?curid=27796924.
Neither Drumeo nor Dr. Azar can provide medical advice. Please go see a medical professional if you’re concerned about something! The content of this article is meant to provide you with some food for thought and some information to help you ask the right questions of your medical team.

Dylan Durward is a Certified Athletic Therapist and the exercises and thermal treatments mentioned in this article are generally considered safe, but they should not be used as a substitute for specific medical advice from a physician or other medical/rehabilitation specialist.

How To Prevent Drumming Injuries

By Bruce Becker

Source: https://www.drumeo.com/beat/prevent-drumming-injuries/

I always tell my students to take the path of least resistance. I believe that tension in one area can permeate through your entire body if you have a tension-laden approach to drumming.

Not only does bad technique make it more of an effort to play the drums, but it can hurt you as well – sometimes enough to stop you from playing altogether.

I have seen these problems come up with various students through the years. These patterns make it clear that drummers are risking injury by continuing to play with bad posture or technique.

Problem: Tension injury

The types of injuries from bad technique can range from your wrist and forearm all the way up to your shoulder. Tension is especially notorious for causing problems not only in the trouble area, but beyond that as well. Some drummers pinch the stick too hard, and others seem to have a disconnection between their fingers and the moving stick.

A tense grip is usually responsible for technique-related injuries, but that’s not always the case. You could harbor tension in your shoulders, which then affects your forearm or wrist. According to kinesiology professor Dr. Nadia Azar, the combination of repetition and force can cause injuries like tendinitis and carpal tunnel syndrome.

“Excessive muscle tension reduces blood flow to the muscles. As a result, less oxygen and nutrients are delivered to the muscle and less waste is removed, which leads to fatigue. Positioning your joints away from their neutral/resting position places additional stress on your tissues (such as pinching or overstretching) and puts your muscles at a mechanical disadvantage by reducing the amount of force they can produce, so they fatigue more quickly.”

How to prevent it: Loosen up

While repetition is unavoidable for drummers (take regular breaks while practicing to lower your risk of injury), you can prevent many problems by using less force. It’s key to work on releasing the tension wherever it emanates from. I use specific exercises to bring about a high tuned awareness and slowly shift the body to give it a more relaxed approach.

Make sure your fingers follow the stick as it moves. Repositioning the stick can also make a difference. I use the Moeller method for better fluidity from your shoulder (ball and socket) down to your elbow (hinge) and wrist (hinge). Building choreography that complements the mechanics of your body – combined with using balance, bounce and gravity to ‘let the stick play you’ – will make it easier to play with less tension.

You can read more about this (and see a video demonstration) in the article “How To Fix Bad Drum Technique”.

Problem: Lower back pain

Seating posture can be crucial to one’s health. Poor posture – along with muscle tension – can lead to other issues such as lower back problems, shoulder problems, and possibly hip problems. According to Dr. Azar, “When your postural muscles (e.g. the ones that help you sit up straight and keep your shoulder blades back and down) are fatigued, it becomes much more difficult to maintain proper posture, so your mechanics begin to suffer. And again, positioning your joints away from their resting position can cause problems. Not only can these things potentially lead to an injury, it can also cause your performance quality to suffer – and no one wants that!”

How to prevent it: Change position

Not only should you position yourself for better posture, you should set up your drums as ergonomically as possible. Think of the drum set as an extension of your body. When you sit down, your legs should be evenly spaced and your feet resting comfortably just ahead of your knees. Start with your throne, pedals, and snare drum. Make the adjustments you need to be comfortable, which means everything is easily accessible so you don’t need to reach, twist or strain.

When sitting at the kit, have your hips higher than your knees, so when lifting each leg it doesn’t come above the hip and strain your lower back. You should also have the ankle slightly in front of the knee to open up the range of motion to the ankle. If you have your ankle directly below your knee, try pulling your toes toward your shin. It’s not very comfortable. Now, place your ankle slightly in front of the knee – you’ll find that you have an easier flex back.

The sooner you can get your technique and posture to the place of least resistance, the more likely it is that you’ll have many more years of drumming ahead of you.

Proper Starting Position for your Feet on the Renzi® Advanced Heel Pedestal System (AHPS)™ With Recovery Technology™

Root:

Definition (paraphrased):One of the foot’s major functions is to… anchoring of the body to the ground, and supporting it…(paraphrased from Wikipedia) This should be the role of your feet after you lift your foot to engage in any pedaling technique; actively “Rooting” you into the ground, LOCKING the body into the floor. Much like the hands gripping the drumsticks, the feet need to grip the floor if we’re going to create optimal stability and generate minimum/maximin force through the footboard and into the pedals drive system during play.

  1. Showing the “front of the R100 Top-Plate
  2. Showing the “back of the arch of the foot” – This is where anyone, regardless of age, gender, playing style, playing technique or player ability will start out with their right and left feet placement when setting up their pedals behind their drum set or percussion instrument
  3. Showing where the back of the arch of foot in relation to the front of the arch off the foot is. 
  1. Foot in static position with the arrows showing how to achieve proper starting position

1. Both feet should be positioned on their respective pedals, i.e.., bass drum and hi-hat where the front portion of the R100 Top-Plate aligns with the back of the arch of the foot. This is where anyone, regardless of age, gender, playing style, playing technique or player ability will start out with their right and left feet placement when setting up their pedals behind their drum set or percussion instrument.   

2. Foot in the up (active) pedaling position 

2. Photo showing the drummers right foot (bass drum pedal foot) playing using the “Heel-Up technique. 
“ROOTING”  

When the players feet need to re-balance or “Root” the R100 Top-Plate provides a stable ground connection that is needed to press a pedal continuously with the foot while maintaining the musicians playing tempo and correct ergonomic foot, ankle, knee, hip, and lower back positioning.  This brief pause will naturally align you into a more powerful and sustainable foot position that will greatly increase and lengthen your ability to produce force or pedal. The improved alignment of your body also makes for safer practicing and playing in either a seated or standing position.

3. Foot in the down (active) pedaling position showing the foot “Rooting” through the R100 Top-Plate to the floor.

Notice where the foot naturally comes down to “Root” during play without interfering with the drummer or percussionist proper foot placement, pedaling style, balance, stability, comfort, tempo or playing sustainability.

4. Foot in the up (active) pedaling position showing that the foot does not move out of the proper starting position but “Released” after “Rooting” to the floor allowing the foot to continue to play maintaining proper lower body positioning (ergonomics).  

Notice after the foot naturally Roots, it automatically returns to the heel-up playing position allowing the foot to continue to play without altering the body’s natural or correct ergonomic body position and/or interfering with the style and tempo of play.

Drumming Should Never be Painful

What’s one thing that’s guaranteed to make a drummer extremely nervous?

Pain while drumming.

Has playing ever given you issues in your wrists, knees, back or neck? It shouldn’t.

While you might experience muscle tiredness from increasing the tempo of a song or exercise, it should feel like a good workout – not something that makes you wince.

Repetitive strain injuries are unfortunately super common with drummers. 68% of players in one study reported having at least one playing-related musculoskeletal disorder, which includes tendinitis and carpal tunnel syndrome.

Injuries shouldn’t be common. The more we know about proper technique and posture on the kit, and the more we’re in tune with our bodies, the better we’ll feel. And as drum technique guru Bruce Becker says, “take the path of least resistance” – because tension is your enemy.

Your mortal enemy.

The sooner you can figure out why something hurts, the lower your risk is for any kind of long-term damage.

Your grandmother was right

She always told you to sit up straight, and that’s one of many tips that’ll make sure your posture and positioning protects you on the drums.

Use these points as guidance when you’re drumming:

  • Your seat should be high enough that your legs angle slightly downwards. Whatever feels the most comfortable is the angle that works best for you.
  • Your legs should be relaxed, and your feet should sit comfortably on the pedals (like you’re driving a car).
  • Your snare drum should be right between your legs.
  • Your cymbals and toms should be in reach (you should never have to fully extend your arms to hit them).
  • If something hurts, stop and re-evaluate what you’re doing. Don’t try and push through it.
  • Take a few days or weeks off from playing if you need to.
    See a doctor if the pain continues.

And – like Granny said – sit up straight.

How It Works: The Anatomy Of Bass Drum Pedaling

Drumming is a very physically demanding and dynamic activity that requires a tremendous amount of muscle conditioning, endurance, strength and coordination. In the February 2016 copy of Drum Magazine, Mr. John Lamb wrote a very significant article on “The Anatomy Of Pedaling”.  On page 39, the article starts out by stating that; “When it comes to refining hand technique, we love to scrutinize the most microscopic details of our stick grips ad infinitum.  Yet many drummers settle for essentially the same pedal technique they used the first time they ever sat down behind a drum kit.  So here’s what goes on mechanically when you pump your pedals, how to do it right, how to do it wrong, and how to make it easier and faster.”

We included a PDF of the actual complete article and a link which will take you to current magazine issue.  We hope you take time to read this compelling article and see how Renzi® Stomp Louderc, Corporation chose to look at the percussionists needs by taking a revolutionary and cost effective approach towards solving a real need in the drum pedal sector (as referenced in Mr. Lamb’s article) by using the manufacturer’s pedal design and modifying the ‘heel plate’ location to accept the Renzi® Stomp Louder®  Advanced Heel Pedestal System (AHPS)™ to help increase performance at an affordable price making the Renzi® YOUR new standard in heel plate alternatives.

Download PDF

Privacy Settings
We use cookies to enhance your experience while using our website. If you are using our Services via a browser you can restrict, block or remove cookies through your web browser settings. We also use content and scripts from third parties that may use tracking technologies. You can selectively provide your consent below to allow such third party embeds. For complete information about the cookies we use, data we collect and how we process them, please check our Privacy Policy
Youtube
Consent to display content from Youtube
Vimeo
Consent to display content from Vimeo
Google Maps
Consent to display content from Google